Account: Plan: Loading…
Dashboard
Stay aligned with your DA workflow and saved work.
Guest session
Sign in to sync projects, pricing, approvals, and AI tools.
0
Projects
0
AI Renders
--:--
Local Time
$0
Total Project Cost (No Labor)
$0
Total Project Cost (With Labor)
0
Gablok Wall Blocks (blocks • m³)
Account
Profile
Identity, contact, and company details.
Keep your personal info, company name, office and mobile numbers ready for DA submissions.
Projects
Saved layouts, DA-ready plans, and images.
Review every saved design, download exports, and keep AI imagery tied to each project.
AI Image Generation
Connect providers and manage AI accounts.
Configure AI image providers, keys, and models used for rendering.
Settings
Measurement units and workflow preferences.
Choose units and tune workflow preferences for every DA submission.
Payments
Billing methods and invoicing.
Store company cards or bank info so DA requests and visualisation orders get cleared immediately.
Account Type
Compare pricing, render credits, and own LLM savings.
Every plan includes Stanton render credits; connect your own LLM to reduce subscription cost.
Application
All Project Timelines
Saved checkpoints, restore points, and versions.
Open the same project timeline used from the save menu to review or restore saved states.
Information
Help, docs, and onboarding tips.
Browse DA workflow checklists, visualisation instructions, and project-ready documentation.
Share
Share links, exports, and badges.
Send projects to stakeholders, publish badges, or copy DA-ready share links.
Gallery
All your saved render images.
Open one gallery with every render image saved across all your projects.
The Collection
Curated future-modern home templates.
Browse custom house templates and load a complete design directly into 3D and 2D.
System Admin
System health, errors, approvals, and reviews.
Monitor system status, approvals, and operational issues. Use User Management for user-level visibility.
User Management
Users, profiles, sessions, and activity.
View all users with login behavior, project usage, render totals, feature requests, timeline checks, and pages clicked.
Credit Economics
Credit package margins and image generator research.
Review render credit pricing, provider costs, profit rules, and the image generator research tables side by side.
Operations
User provisioning and administrator actions.
Create users and manage operational admin actions from the system dashboard.
Data Records
Project, invoice, and profile snapshots.
Review support data records for user projects, invoices, and profiles.
Analytics
Analytics
GA-style charts for cost, DA, builds, projects, and data usage.
Open the full analytics page to review portfolio value, DA momentum, build progress, project cadence, and data usage trends.
Insights
Analytics
Cost, DA workflow, build progress, project activity, and data usage in one account view.
Data Usage Over Time
Trend shows total footprint, generated media, and project data over time with a minimal GA-inspired reading of storage health.
Admin
User Management
Understand each user with profile, login, project, render, and activity visibility.
All Users & Profiles
Admin
Credit Economics
Credit package margins and image generator research, shown full width.
Credit Economics
 v20260217-47eab18
The operating system for residential construction
v20260217-47eab18
The operating system for residential construction
Welcome to Stanton Desk™
Plan, Design & Build Your Home With Confidence
Profile
Personal Information
Keep your contact info up to date for smooth DA approvals.
Personal Information
Session & Diagnostics
Feature Request
Describe what you want changed. The copied payload includes diagnostics for support.
Plans & Pricing
Account Type
Choose your monthly Stanton package in AUD. Every account type includes Stanton image-render credits; each managed photoreal render uses 10 credits.
Starter
- Core Design Access
- 30 image-render credits / month
- 3 Stanton photoreal renders included
- Stanton managed API included
- Own LLM discount eligible
- 2D View
- 3D View
- Account Dashboard
- Up to 10 projects
- WebGL View
Builder
- Home Design Standard
- 100 image-render credits / month
- 10 Stanton photoreal renders included
- Stanton managed API included
- Own LLM discount eligible
- Unlimited Cloud Saves
- Full Furniture Library
- HD Photorealistic Renders
- Visualisation AI
- Standard Support
Professional
- Complete Professional Suite
- 500 image-render credits / month
- 50 Stanton photoreal renders included
- Stanton managed API included
- Everything in Builder Plan
- Visualisation AI (connect any LLM)
- Own LLM discount eligible
- DA Approval Ready Exports
- Priority Support
- Material Estimator
Enterprise
- Ultimate Build Support
- 2000 image-render credits / month
- 200 Stanton photoreal renders included
- Stanton managed API included
- Own LLM discount eligible
- Everything in Professional Plan
- Online Q&A with Engineers
- Advanced Visualisation AI
- Priority Rendering Queue
- Review by Certified Builders
- Priority 24/7 Support
Custom+
- Dedicated Stanton Team
- Unlimited image-render credits / month
- Unlimited Stanton photoreal renders included
- Unlimited TB storage
- Unlimited projects
- Dedicated team of 3-5
- Everything in Enterprise
- Priority delivery coordination
- White-glove onboarding
Storage Usage & Plan Limits
Google-style overview: your usage trend line, current plan limit, and upgrade options in one place.
Plan Features Guide
Compare all features across plans — find the perfect fit for your project.
Saved Designs
Projects
Manage your saved projects and AI-generated renders.
Start New Project
All Projects
Tick projects on this page to delete them together.
No projects yet
Create a project to save your designs and AI renders.
Renders
Gallery
All saved render images in the shared gallery.
All Saved Images
No images yet
Generate and save renders in Visualize to populate your gallery.
Templates
The Collection
Future-modern custom homes with complete room plans, openings, and multi-level layout logic.
Template Gallery
First Perfect 1 Bedroom Courtyard House
Ground + Roof · Published Stanton render-ready courtyard model
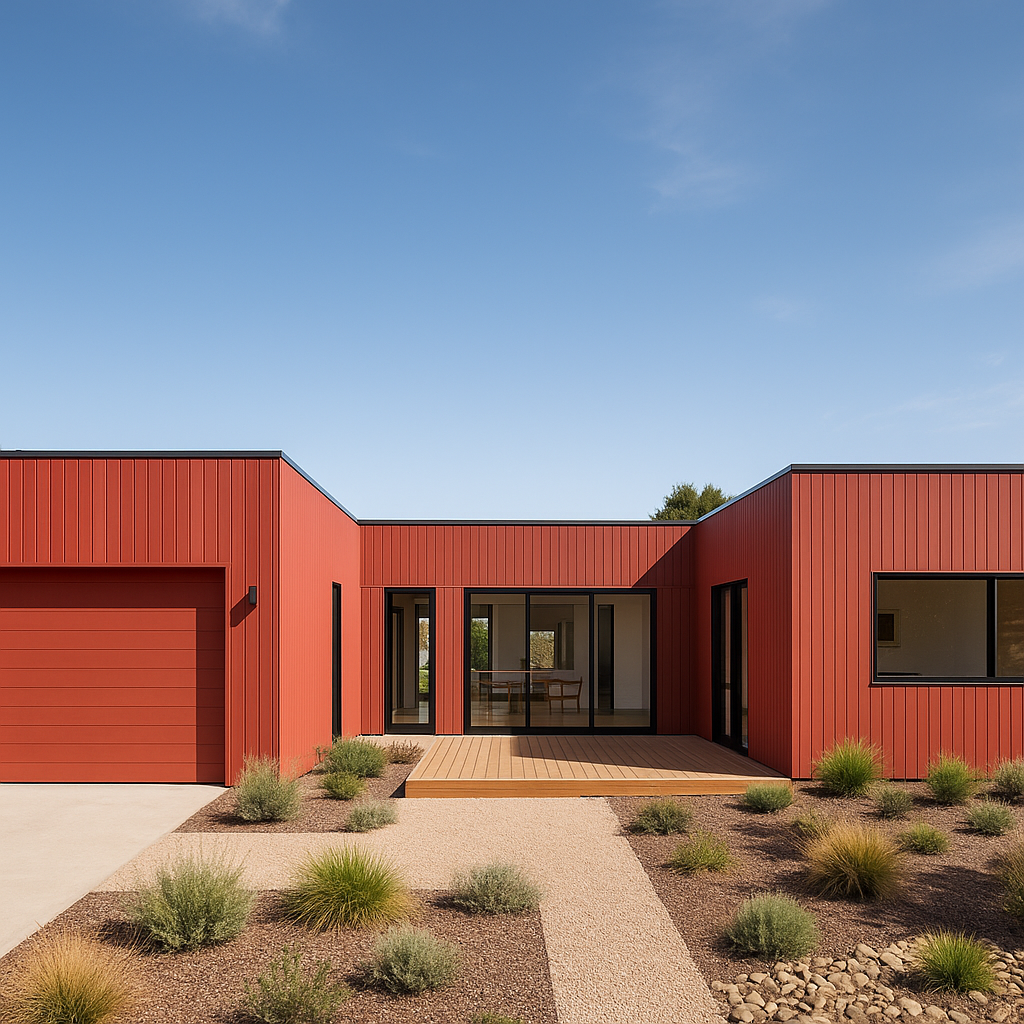

Published from the live Visualisation flow: exact Stanton 3D model, courtyard layout, roof, garage, doors, windows, furniture, and saved photoreal project renders.
Coastal Two Bedroom Pavilion House
Ground + Roof · 19 saved visualisations
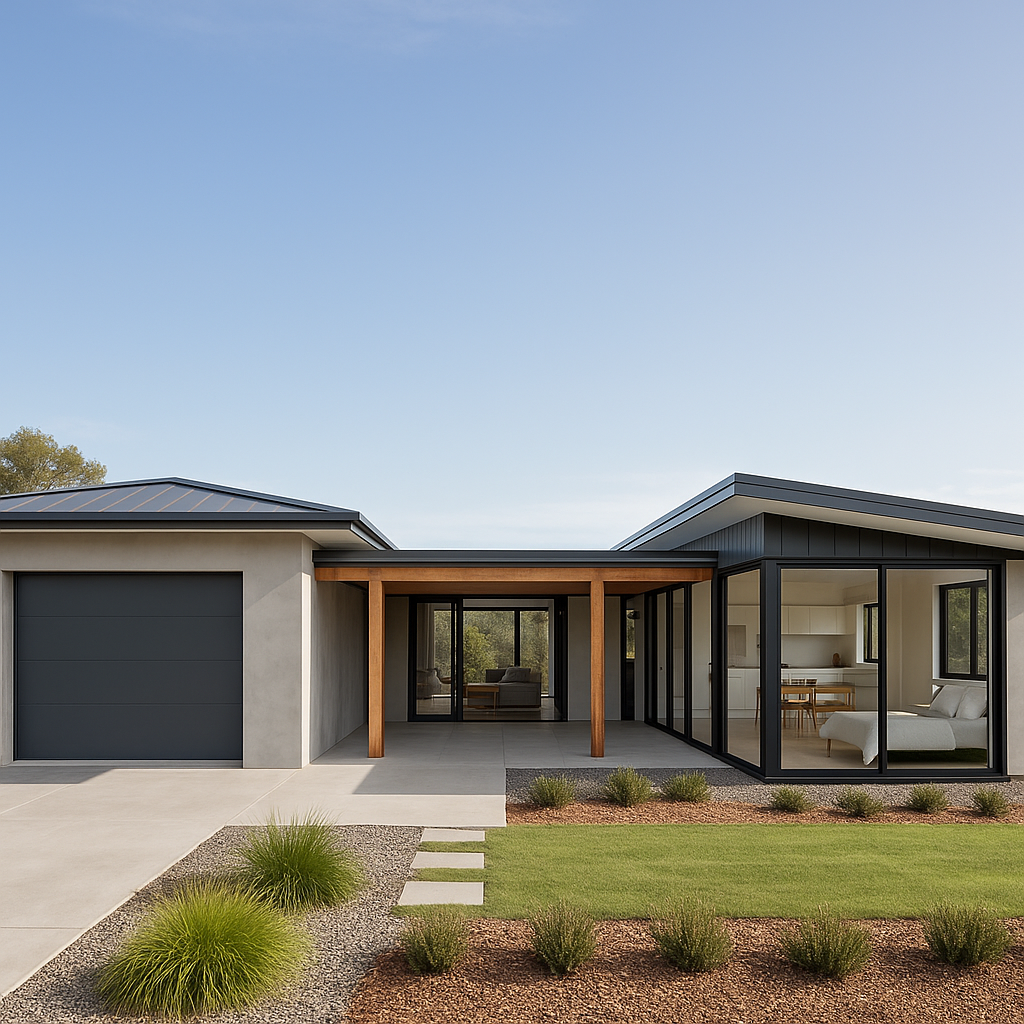
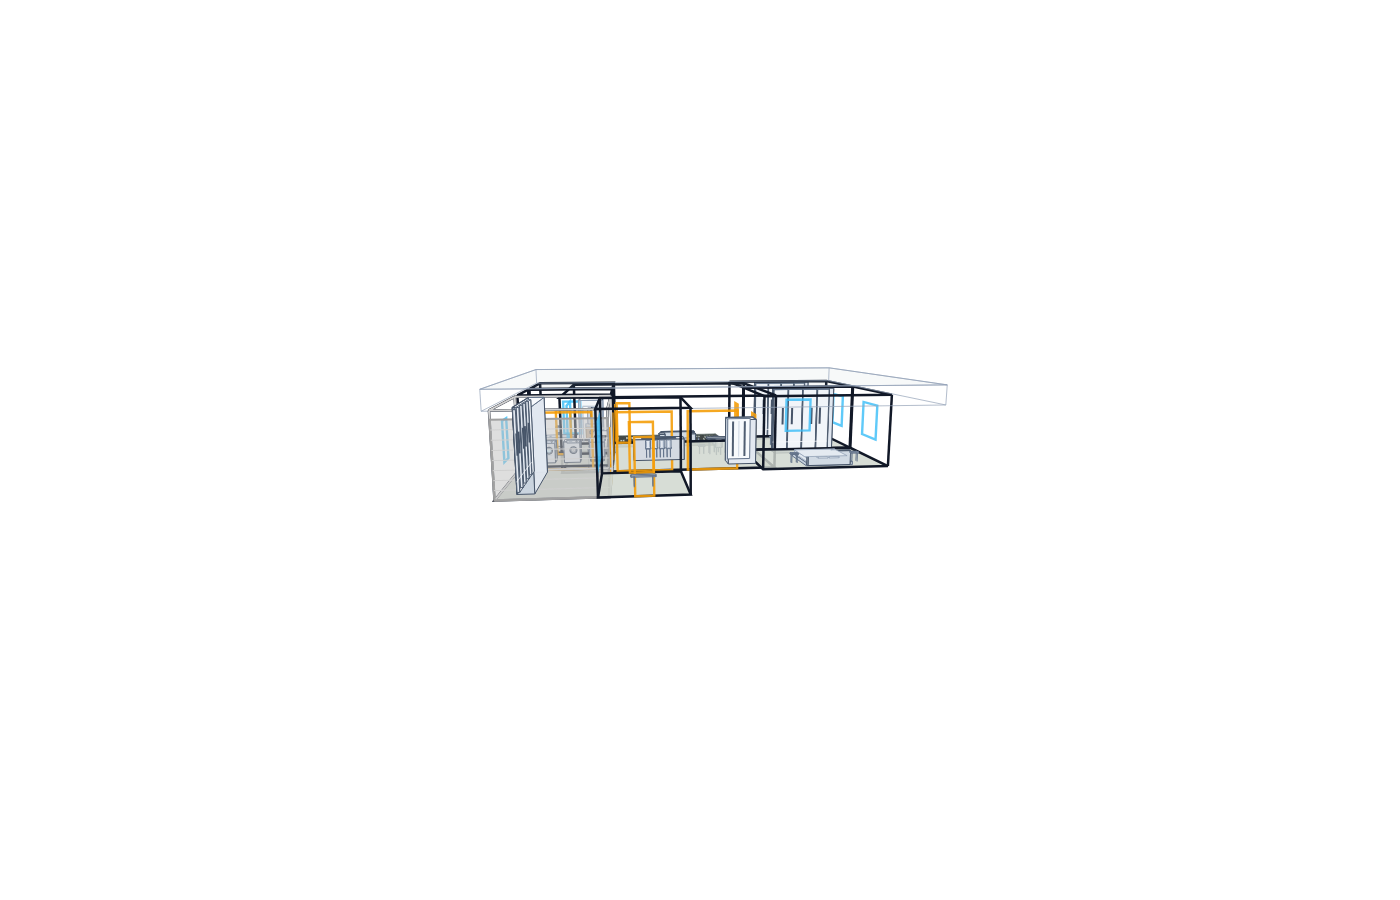
Two-bedroom pavilion model with exterior angles, room views, garage, courtyard and roof/massing visualisations.
Compact Duplex Pair
Duplex + Roof · 19 saved visualisations
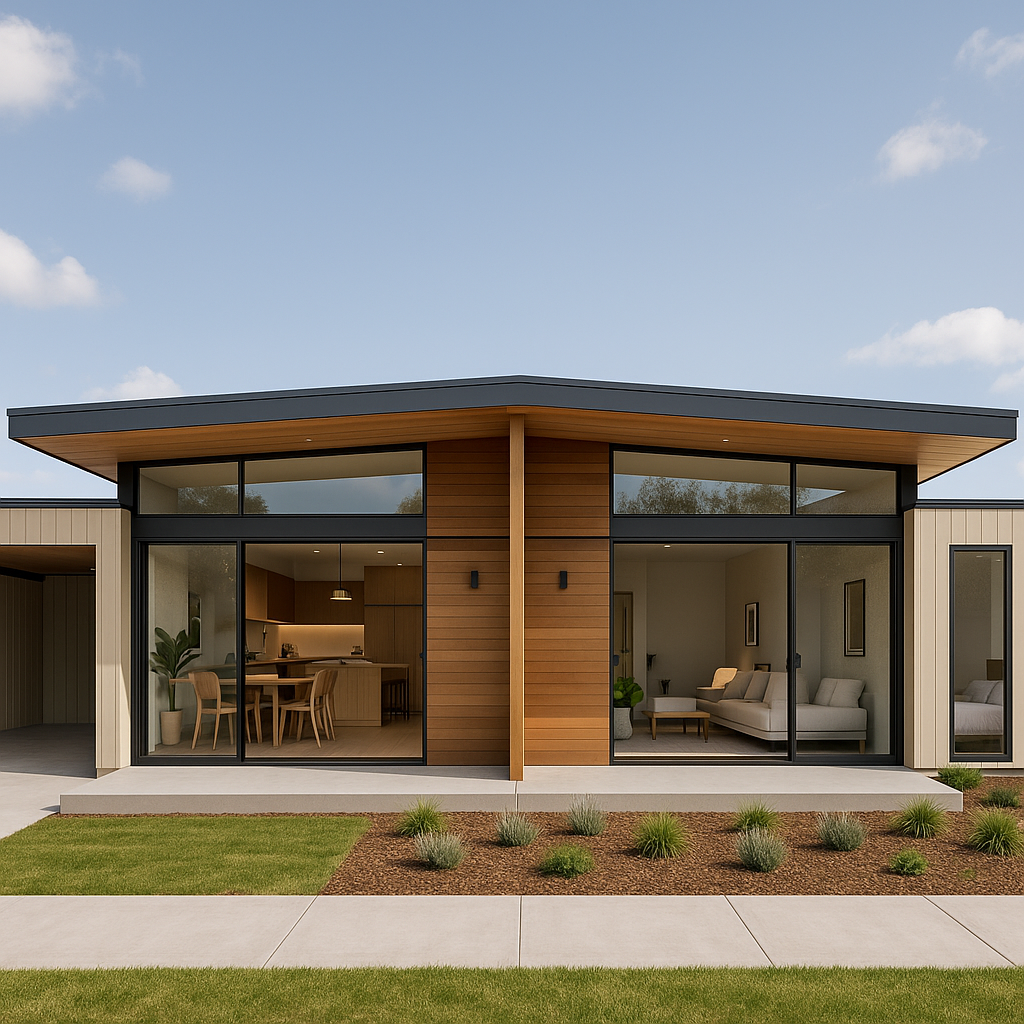
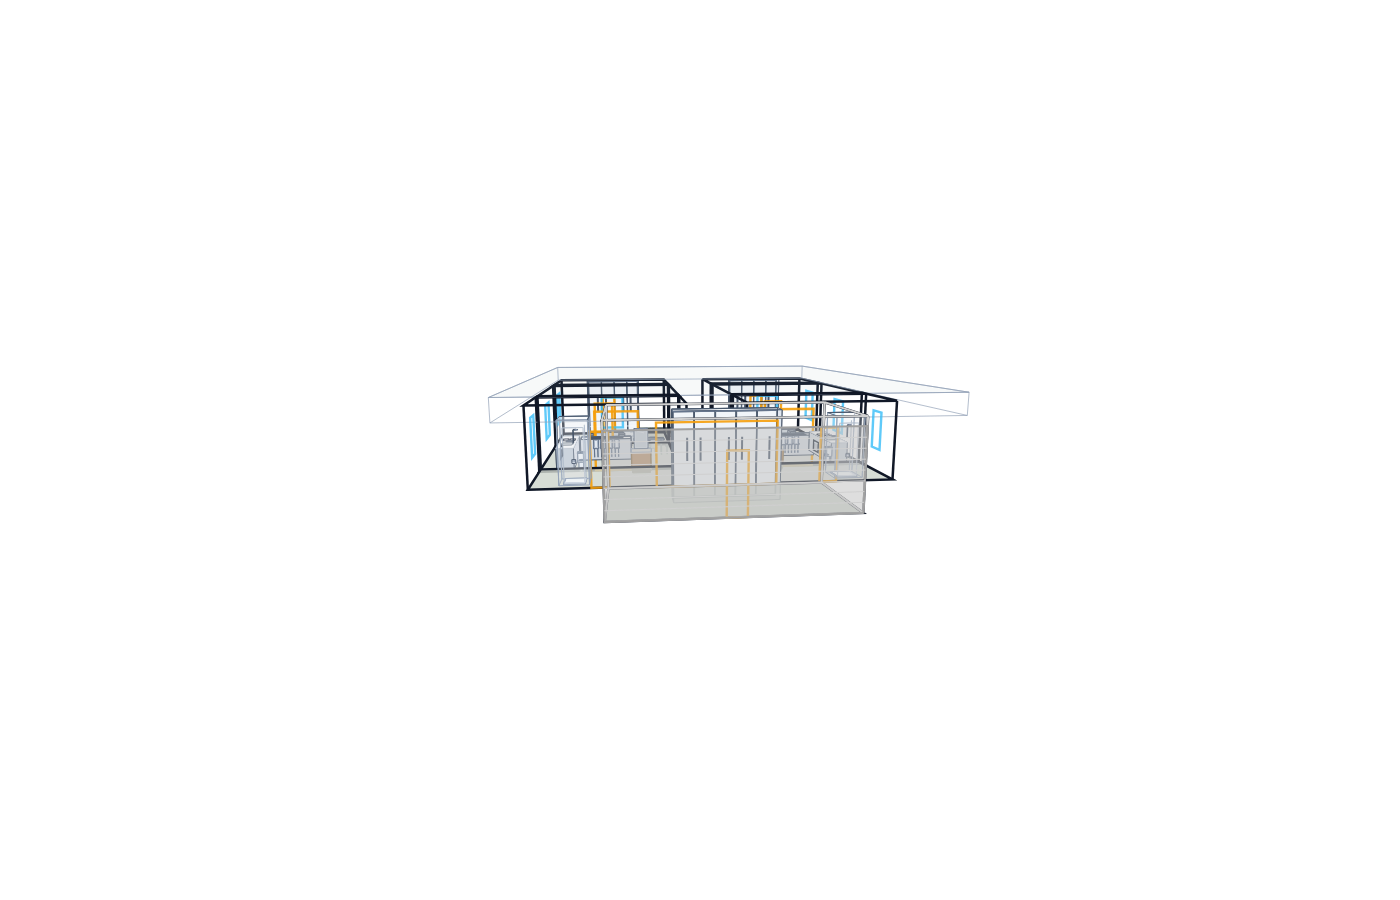
Dual-dwelling model with Unit A/Unit B interiors, shared carport, courtyard and rear garden visualisations.
Family Three Bedroom Courtyard House
Ground + Roof · 20 saved visualisations
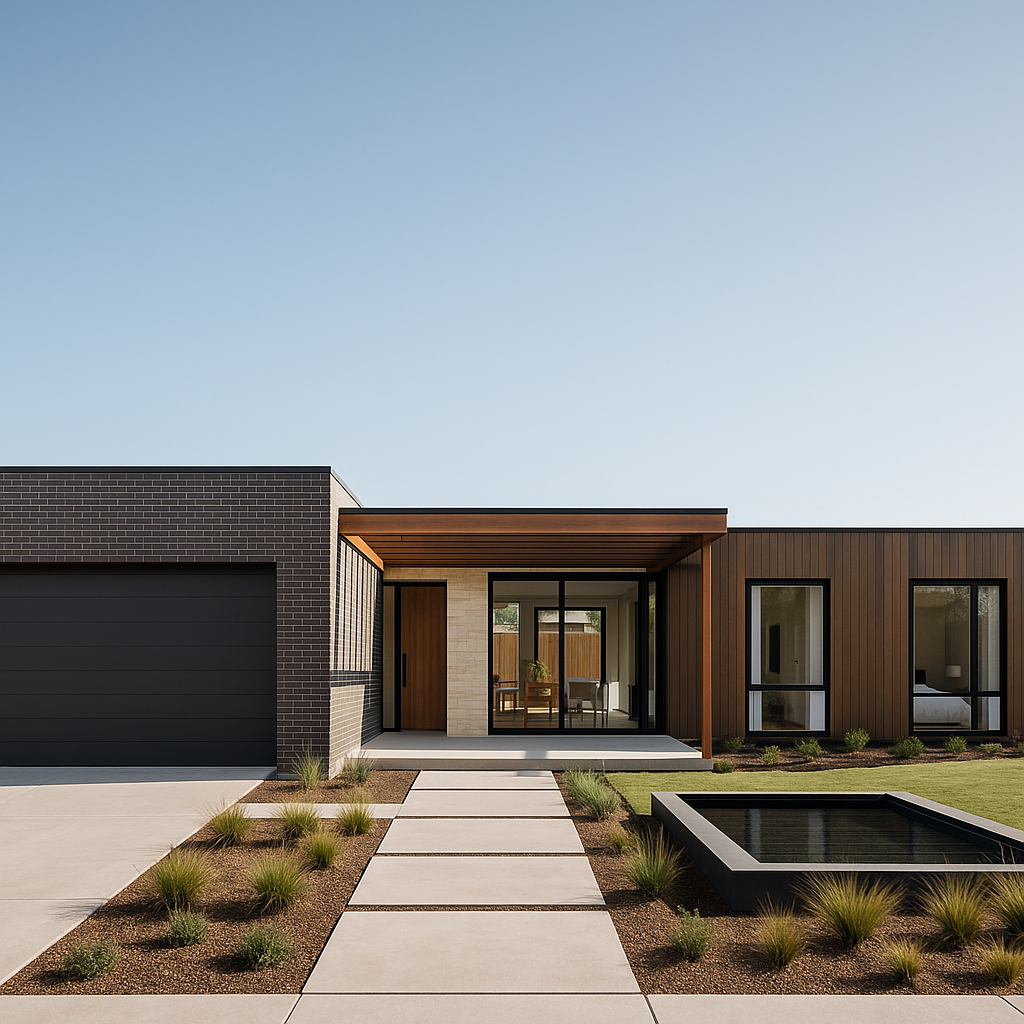
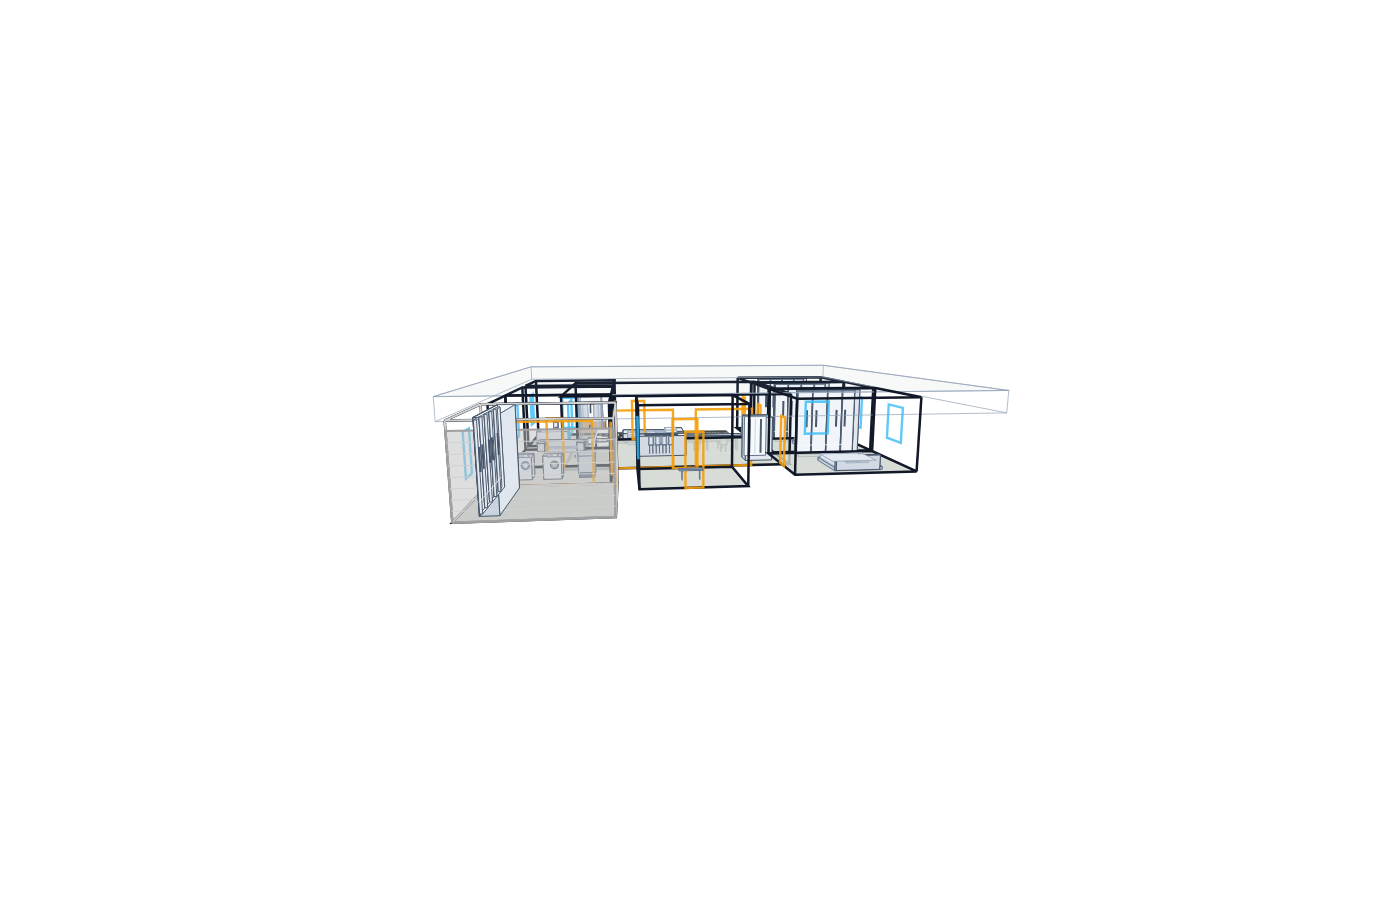
Three-bedroom family plan with courtyard, media room, bedrooms, laundry, garage and detail renders.
Luxury Four Bedroom L House
Ground + First + Roof · 15 saved visualisations
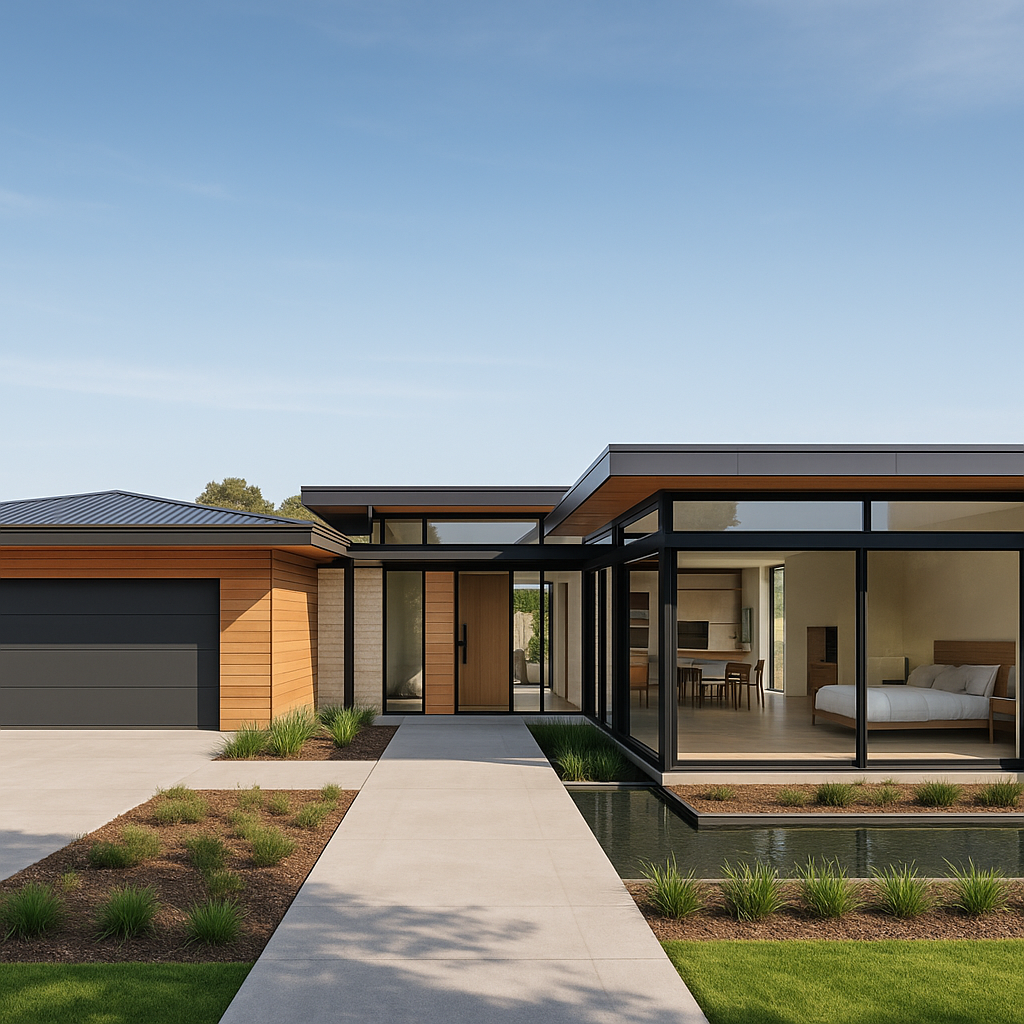
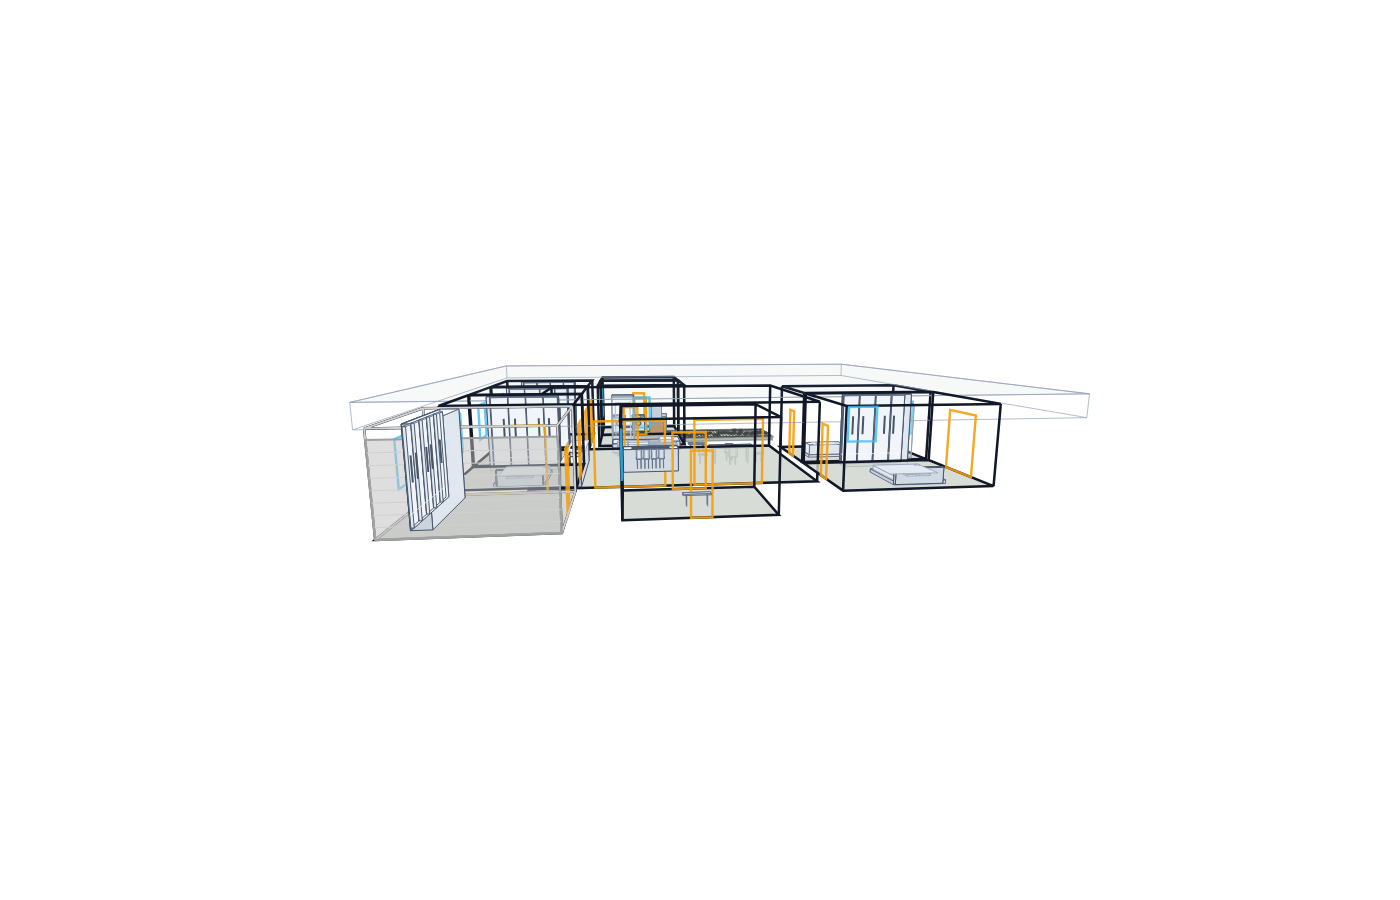
Luxury four-bedroom L-plan with exterior angles, gallery, great room, master suite and bedroom coverage.
Two Storey Five Bedroom Family House
Two storey + Roof · 15 saved visualisations
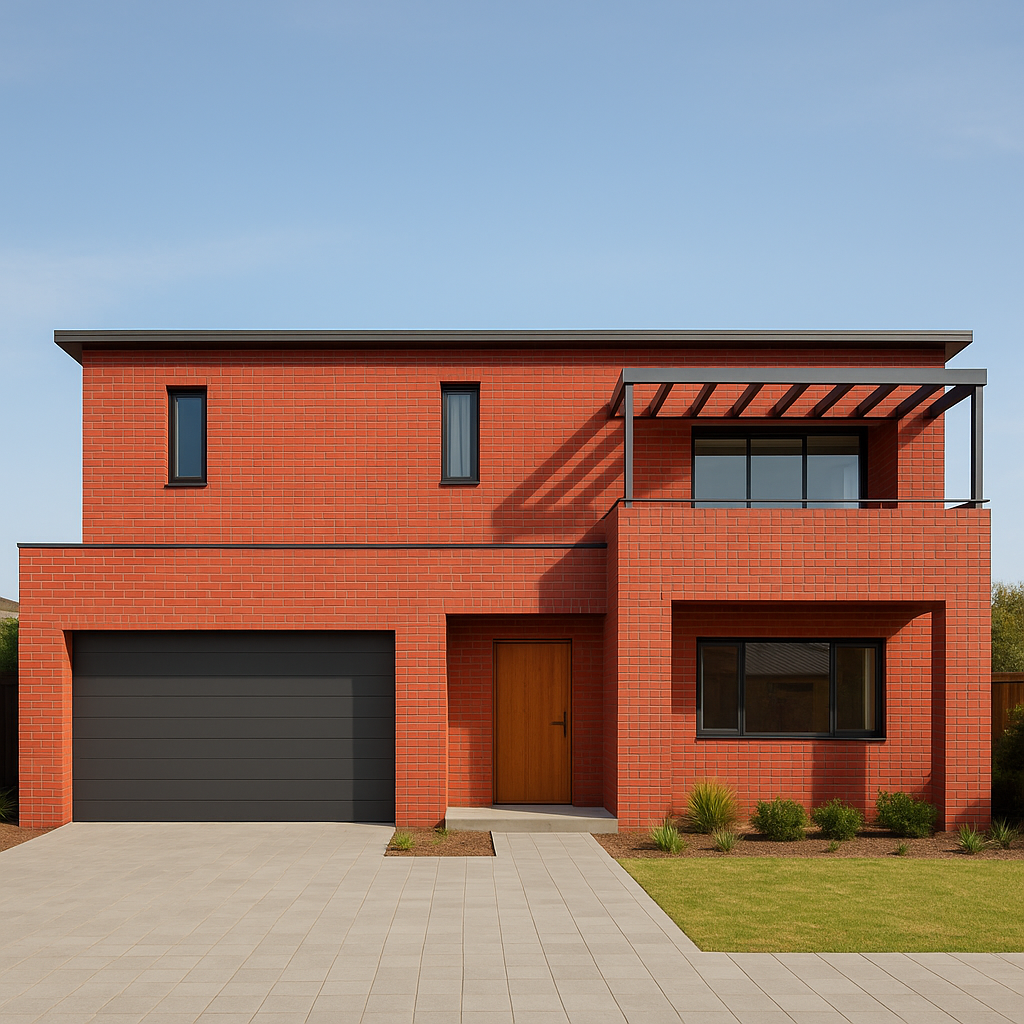
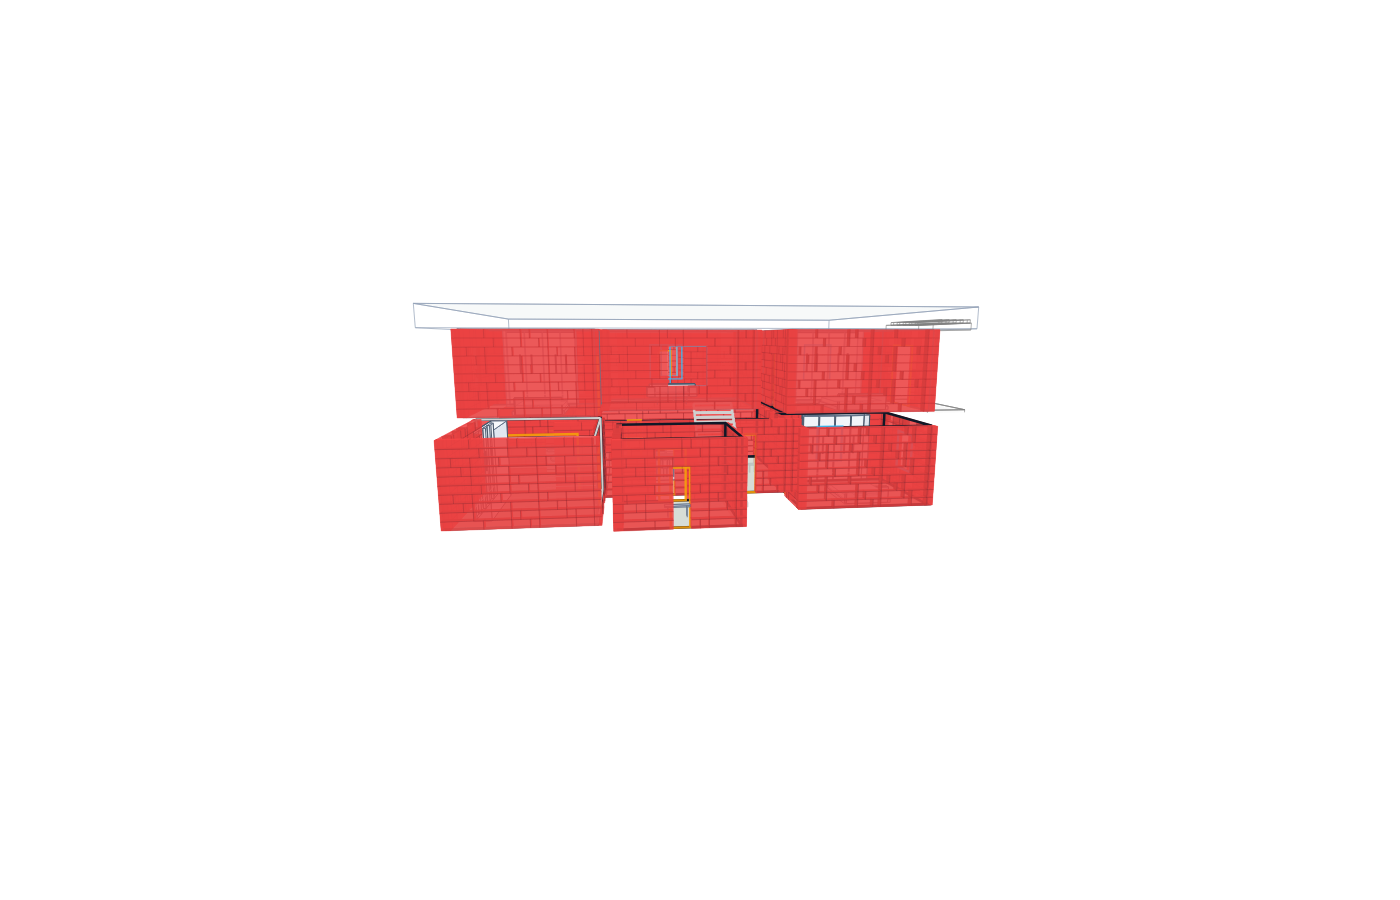
Two-storey five-bedroom model with exterior views, ground floor rooms, garage and upper landing visualisations.
Desert Modern Courtyard Villa
Desert modern · 15 saved visualisations
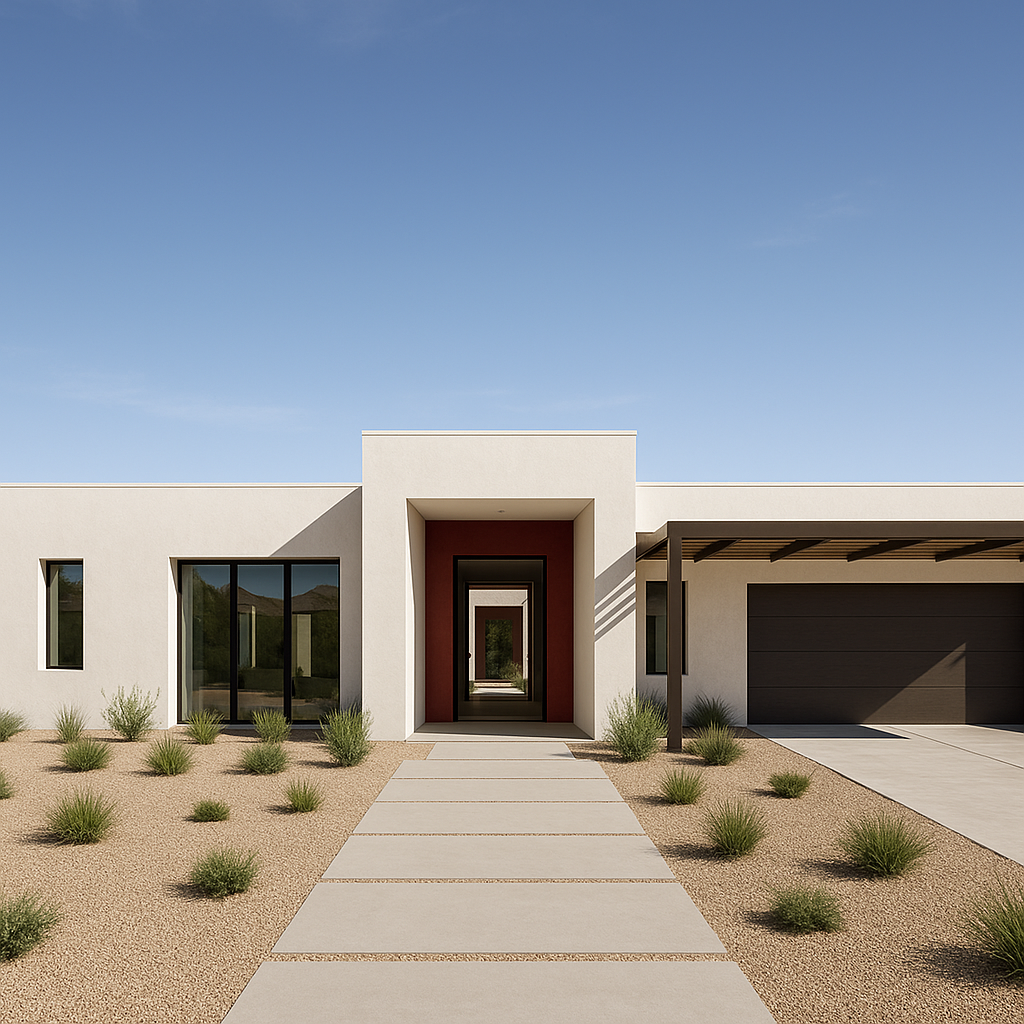

Low-slung courtyard villa with gallery spine, privacy wings, warm mineral massing and shaded outdoor room.
Urban Narrow Lot Terrace
Narrow-lot modern · 15 saved visualisations
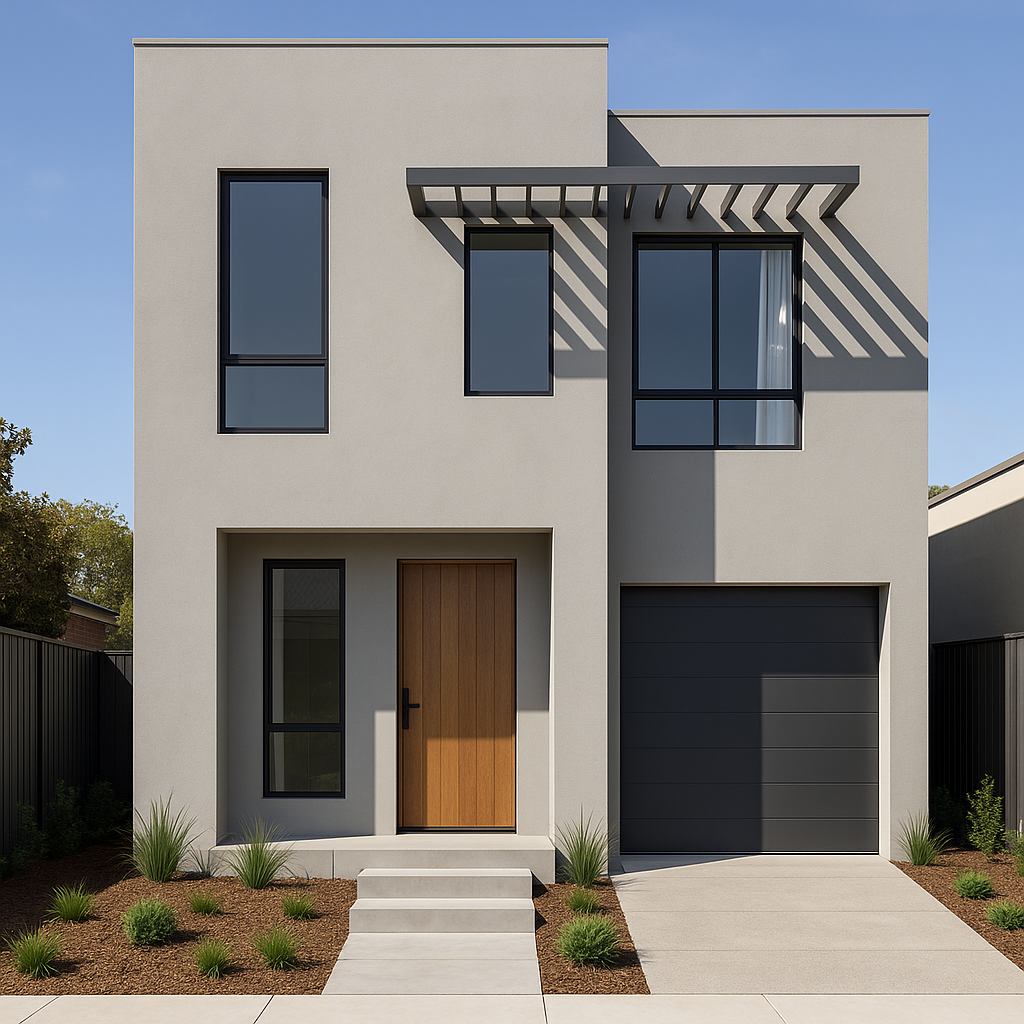

Tall slim terrace with street office, vertical bedroom stack, rear living court and laneway garage planning.
Mountain Glass Pavilion House
Mountain glass pavilion · 15 saved visualisations
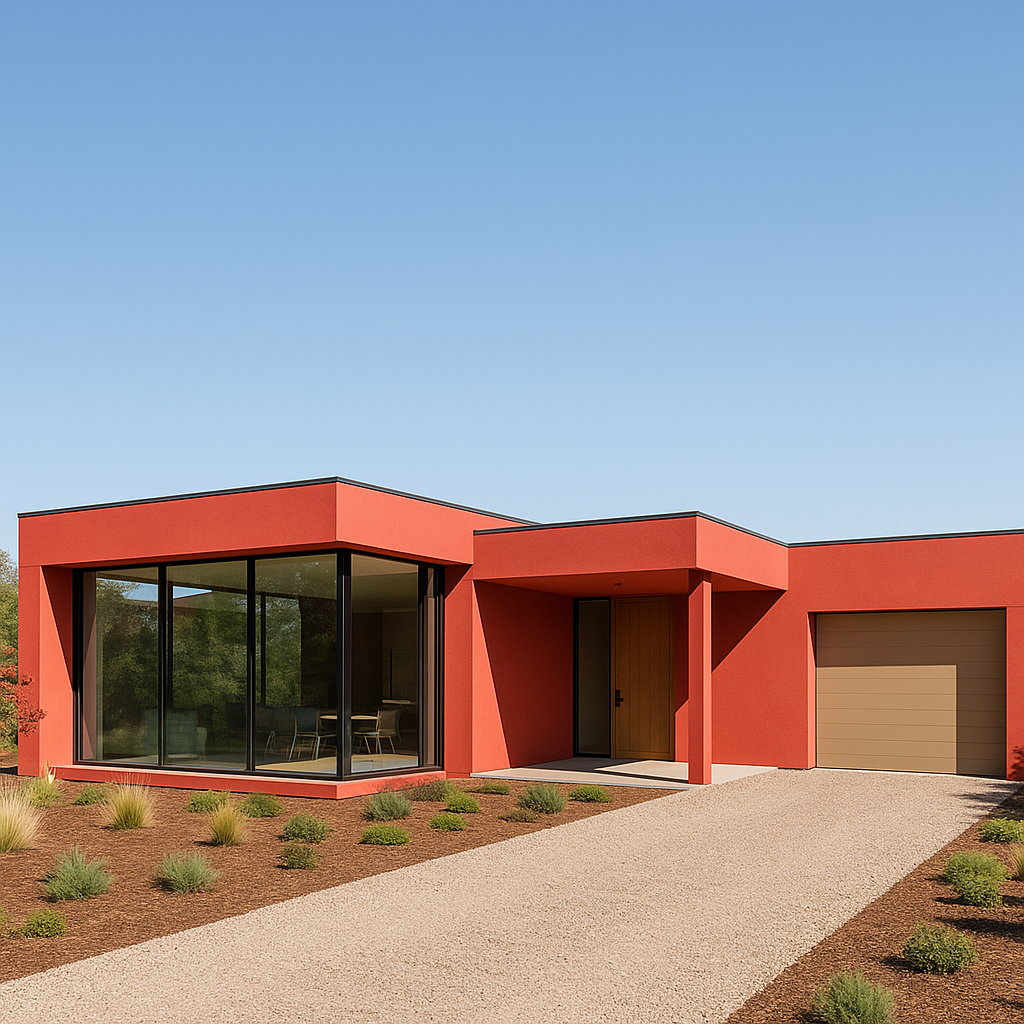

Glassy view-facing pavilion with hearth kitchen, broad deck, service anchor, spa bathroom and retreat rooms.
Wave Coastal Terrace House
Coastal concrete terraces · 15 browser-flow 16:9 renders
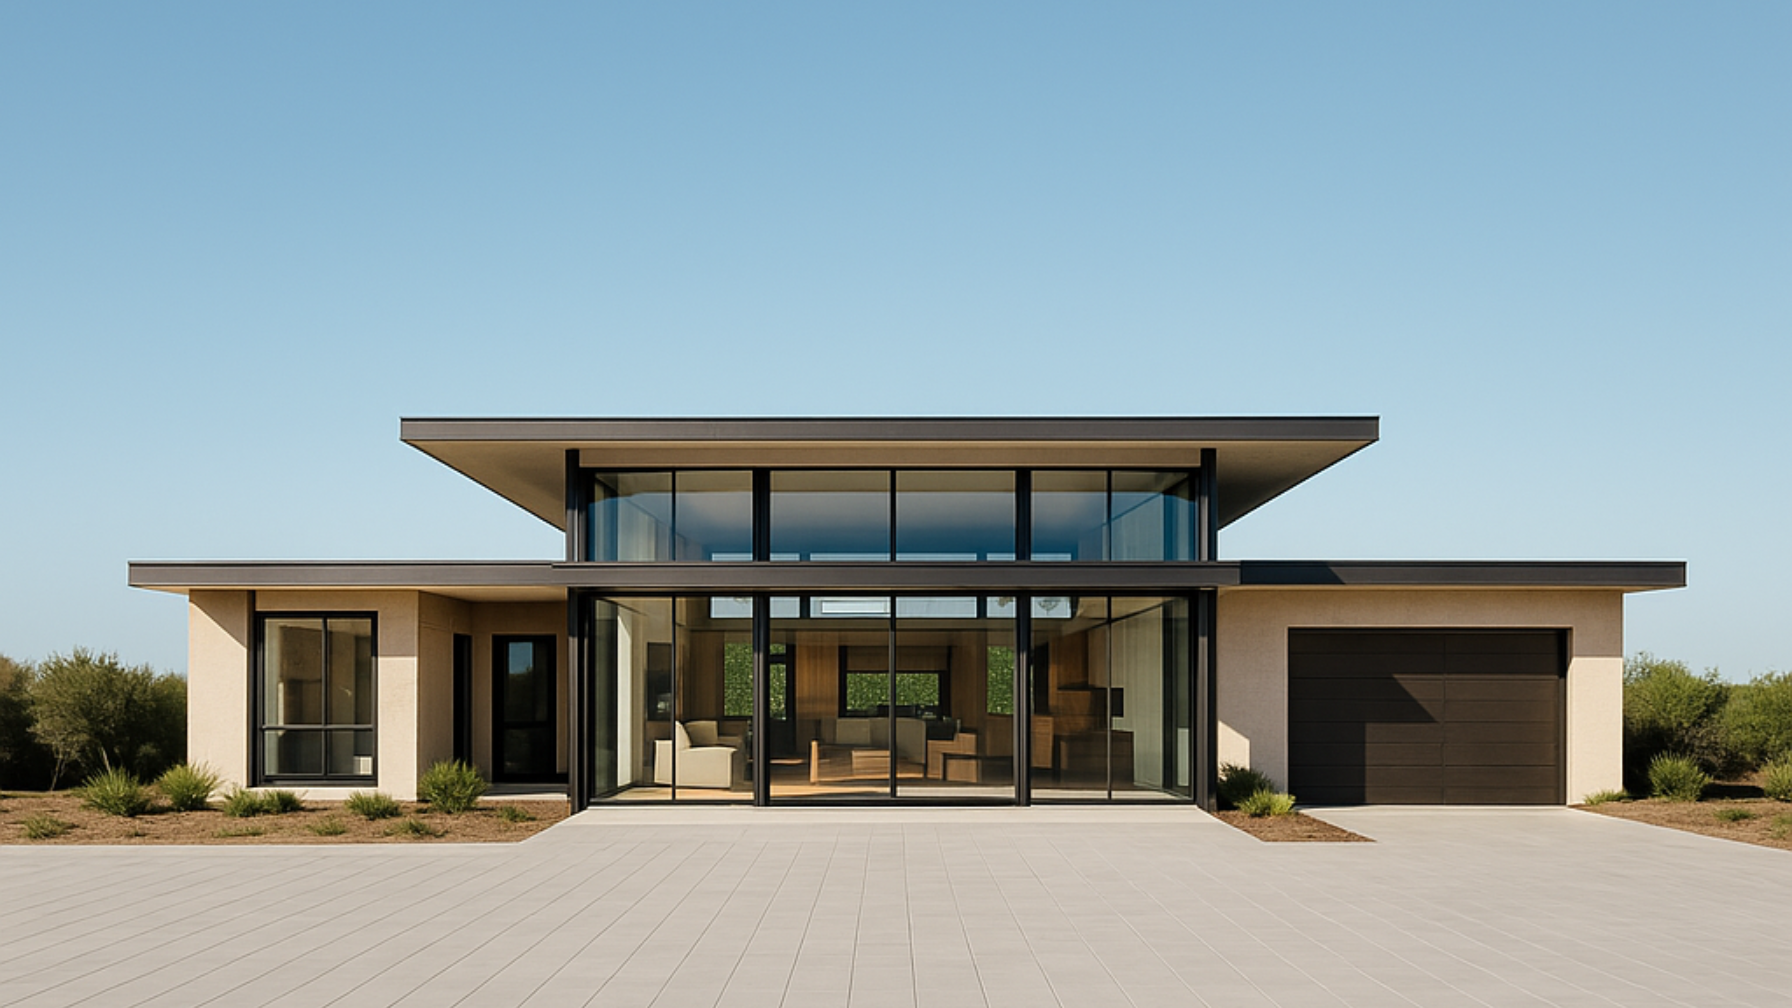

Waveon-inspired coastal concrete residence with layered terraces, ocean-facing glazing, five bedrooms, roof studio, interiors and exact browser Visualise camera-matched renders.
No models in The Collection
Load defaults from a fresh session if you need these templates back.
AI
AI Image Generation
AI provider connections
Settings
Preferences
Tune measurement units and save workflow defaults.
General
Set your default editor preferences, project behaviour, and core working units.
Keep project changes saved automatically while you work.
Appearance
Choose light or dark mode by area. Section names remain clickable so you can jump straight there.
Payments
Invoices
View your invoices and receipts.
Invoices
Invoices will appear here once generated.
Information
Help & Docs
Browse design guides, structural docs, and workflow notes.
System Admin
System Admin Console
Monitor users, projects, profiles, activity, and errors.
Admin Dashboard
Overview
System Status
Analytics
User Notifications
Recent Errors
Operations
Add User
Global Cost Settings
Completed-build rate
Data Records
| Record Type | Name / ID | Owner / Contact | Details | Updated |
|---|---|---|---|---|
| Loading records... | ||||
Reset Everything?
This will permanently delete all your work including rooms, furniture, and settings. This action cannot be undone.